Quick & Effective Ways To Winterize Your Home’s Plumbing
Table Of Contents:
- Insulating Exposed Pipes
- Sealing Cracks and Gaps
- Keeping Cabinet Doors Open
- Using Heat Tape
- Installing Pipe Heating Cables
- Applying Weatherstripping
- Monitoring Thermostat Settings
As winter approaches, safeguarding your home’s plumbing system becomes paramount. However, traditional winterization steps like shutting off the main water supply and draining the plumbing system may not be feasible if you’re still living in the property. In this guide, we’ll provide practical and detailed tips for winterizing your plumbing while you’re at home. By implementing these measures and using quality plumbing products, you can ensure a smooth and trouble-free winter.
Don’t forget to stock up on quality plumbing supplies from Reno Liquidators!
Insulating Exposed Pipes
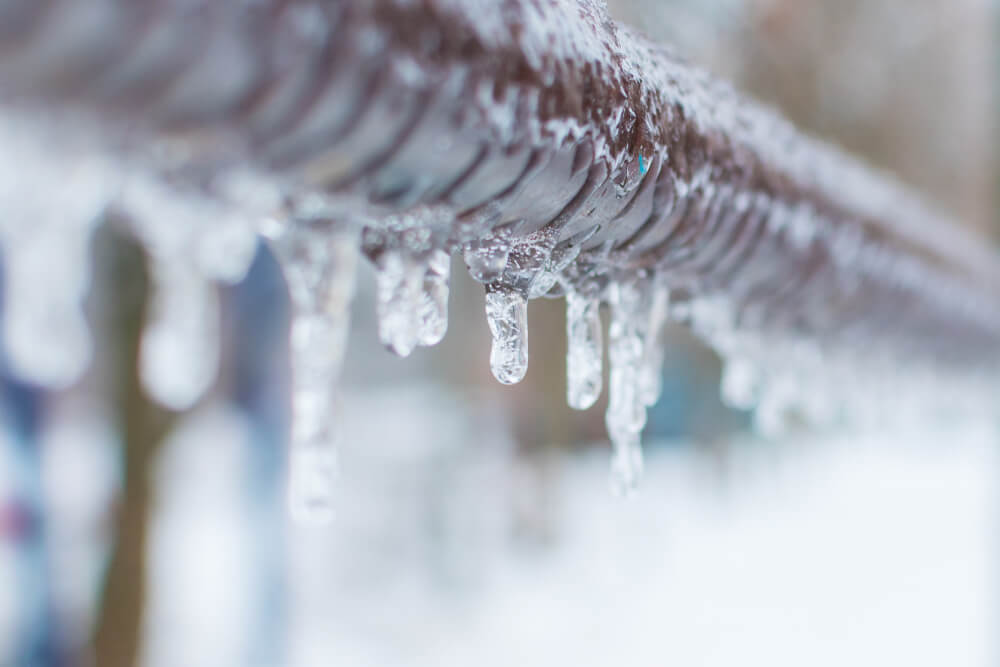
Insulating exposed pipes is crucial in preventing freezing, which can lead to costly damage and disruptions in your water supply. Pipes in unheated or uninsulated areas are particularly vulnerable to below-freezing temperatures.
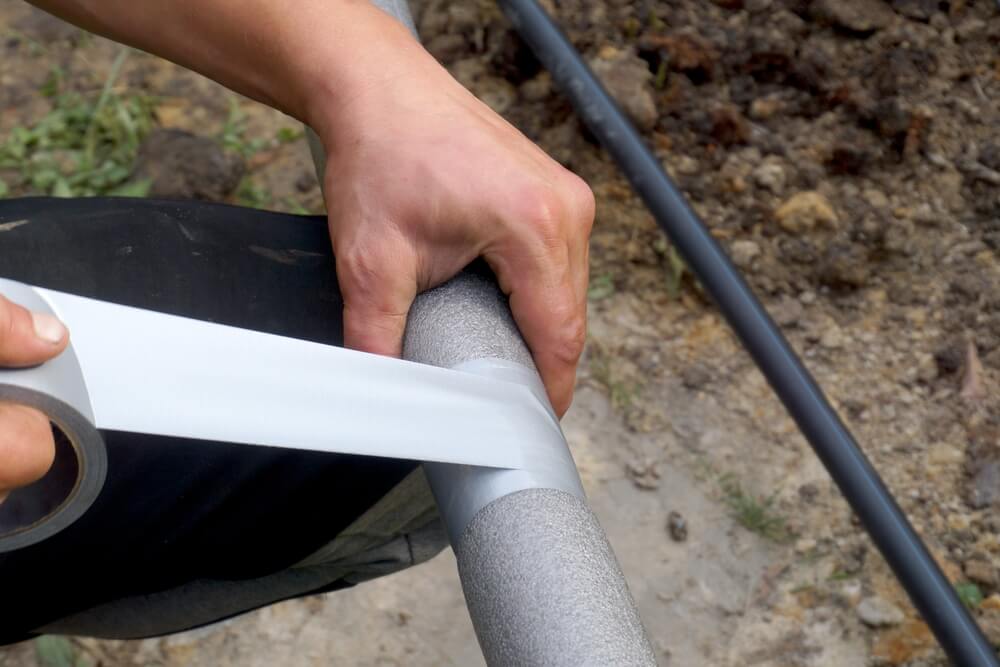
How To Do It: Start by identifying pipes in areas like attics, crawl spaces, and along exterior walls. Use insulation sleeves or wraps to cover every inch of these pipes, creating a barrier that helps maintain a consistent temperature and prevents freezing.
Benefits: Properly insulated pipes ensure uninterrupted water flow, reducing the risk of burst pipes and subsequent water damage. It also contributes to energy efficiency, as your water heater won’t need to work as hard to maintain temperature.
Sealing Cracks and Gaps
Cracks and gaps in walls, windows, and door frames can allow cold air to infiltrate your home, affecting both your comfort and the condition of your pipes. Sealing them is a simple yet effective step in winterizing your plumbing.
How To Do It: Conduct a thorough inspection of your home’s exterior for any visible cracks or gaps. Use a high-quality caulk or sealant, such as DAP Draft Attack Sealant, to seal these openings. Pay special attention to areas around windows, doors, and where pipes enter your home.
Benefits: Properly sealed gaps and cracks enhance the energy efficiency of your home, reducing heating costs. Additionally, it helps maintain a comfortable indoor environment while safeguarding your plumbing from freezing temperatures.
Keeping Cabinet Doors Open
Allowing warm air to circulate pipes is a practical way to maintain a stable temperature in areas like the kitchen and bathroom. This reduces the risk of freezing, especially in cabinets located against exterior walls.
How To Do It: Keep the cabinet doors beneath sinks in the kitchen and bathroom open. This allows warm air from your home’s interior to reach the pipes, helping to prevent freezing.
Benefits: This simple practice promotes a more even temperature distribution, safeguarding your plumbing from freezing. It also contributes to a more energy-efficient home by utilizing existing heat sources.

Using Heat Tape
Heat tape provides an additional layer of protection for vulnerable pipes, especially those in exposed or unheated areas. It helps generate and maintain heat, preventing freezing.
How To Do It: When using heat tape, it’s crucial to follow safety guidelines and the manufacturer’s instructions. Proper installation involves wrapping the tape around the pipes, paying special attention to areas prone to freezing.
Benefits: Heat tape acts as an extra defence against freezing, ensuring a continuous water supply and reducing the risk of burst pipes.
Installing Pipe Heating Cables
Pipe heating cables offer a reliable solution to prevent freezing. They provide consistent heat, keeping pipes above freezing temperatures, particularly in areas with a higher risk of exposure to the cold.
How To Do It: Wrap the heating cables around vulnerable pipes, making sure to cover the entire length. Follow the manufacturer’s instructions carefully to ensure proper installation.
Benefits: Like heat tape, pipe heating cables protect your plumbing system from freezing, minimizing the risk of costly damage and repairs. They offer peace of mind, especially in areas with limited insulation.
Applying Weatherstripping
Weatherstripping is an essential step in preventing drafts that can lead to freezing pipes. It creates a tight seal around doors and windows, keeping cold air out and warm air in.
How To Do It: Inspect doors and windows for gaps and apply weatherstripping, focusing on areas where you feel drafts. Use a high-quality weatherstripping product to ensure a proper seal.
Benefits: Properly sealed doors and windows enhance energy efficiency, reducing heating costs. Additionally, it maintains a comfortable indoor environment and protects your plumbing from freezing temperatures.
Monitoring Thermostat Settings
Maintaining a consistent indoor temperature, even when you’re away or during the night, is crucial for preventing freezing. Setting your thermostat no lower than 13 degrees Celcius provides a buffer against cold temperatures.
How to Do It: Adjust your thermostat settings to ensure that the temperature remains above the freezing point. Consider using a programmable thermostat to automate temperature adjustments based on your schedule.
Benefits: Monitoring thermostat settings ensures that your home stays warm enough to protect your plumbing from freezing. It minimizes the risk of burst pipes and subsequent water damage, providing peace of mind during the winter months.

Winterizing your plumbing while still living in your home requires a different approach, focusing on insulation, sealing gaps, and using specialized products like heat tape and heating cables. By following these practical tips and investing in quality plumbing equipment, you can effectively protect your plumbing system throughout the winter months. Don’t wait until the cold weather hits – start implementing these measures today for a worry-free winter season!

